
This cake almost killed me. Or, at least, the buttercream almost did. I’m not sure I’ve ever had a more frustrating sojourn in the kitchen, and I definitely have new respect for the “daring” portion of the name “daring bakers.” Of course, it was largely my fault. For the record, you absolutely cannot use salted butter in buttercream frosting. Also, it is not a good ideas to add a sugar syrup that has crystallized, unless you want chunks of sugar in your buttercream. If you use a crystallized sugar syrup and salted butter together, I guarantee you, you will be dumping your buttercream down the drain.
Which explains why there had to be a second attempt at the buttercream. On the second attempt, I decided to throw caution to the wind, and make a honey syrup instead of a sugar syrup (it was actually part honey, part sugar), but it wouldn’t get up to 225 degrees. I used it anyway. I ended up with liquid buttercream. Apparently, if I had stuck part of the frosting in the freezer and the rest in the fridge and tried beating again, I might have been able to rescue it. I didn’t know that at the time, down the drain it went.
Which explains why there was a third attempt at buttercream, with my last two sticks of butter. I almost followed the recipe the third time. But, I cut down the sugar, so there would be room for the sweetness of the honey. After some frantic whipping, and a moment of panic when this buttercream too seemed headed for soup, the buttercream pulled together beautiful. Still, exhausted and cranky, I vowed I would never make an Italian buttercream again.
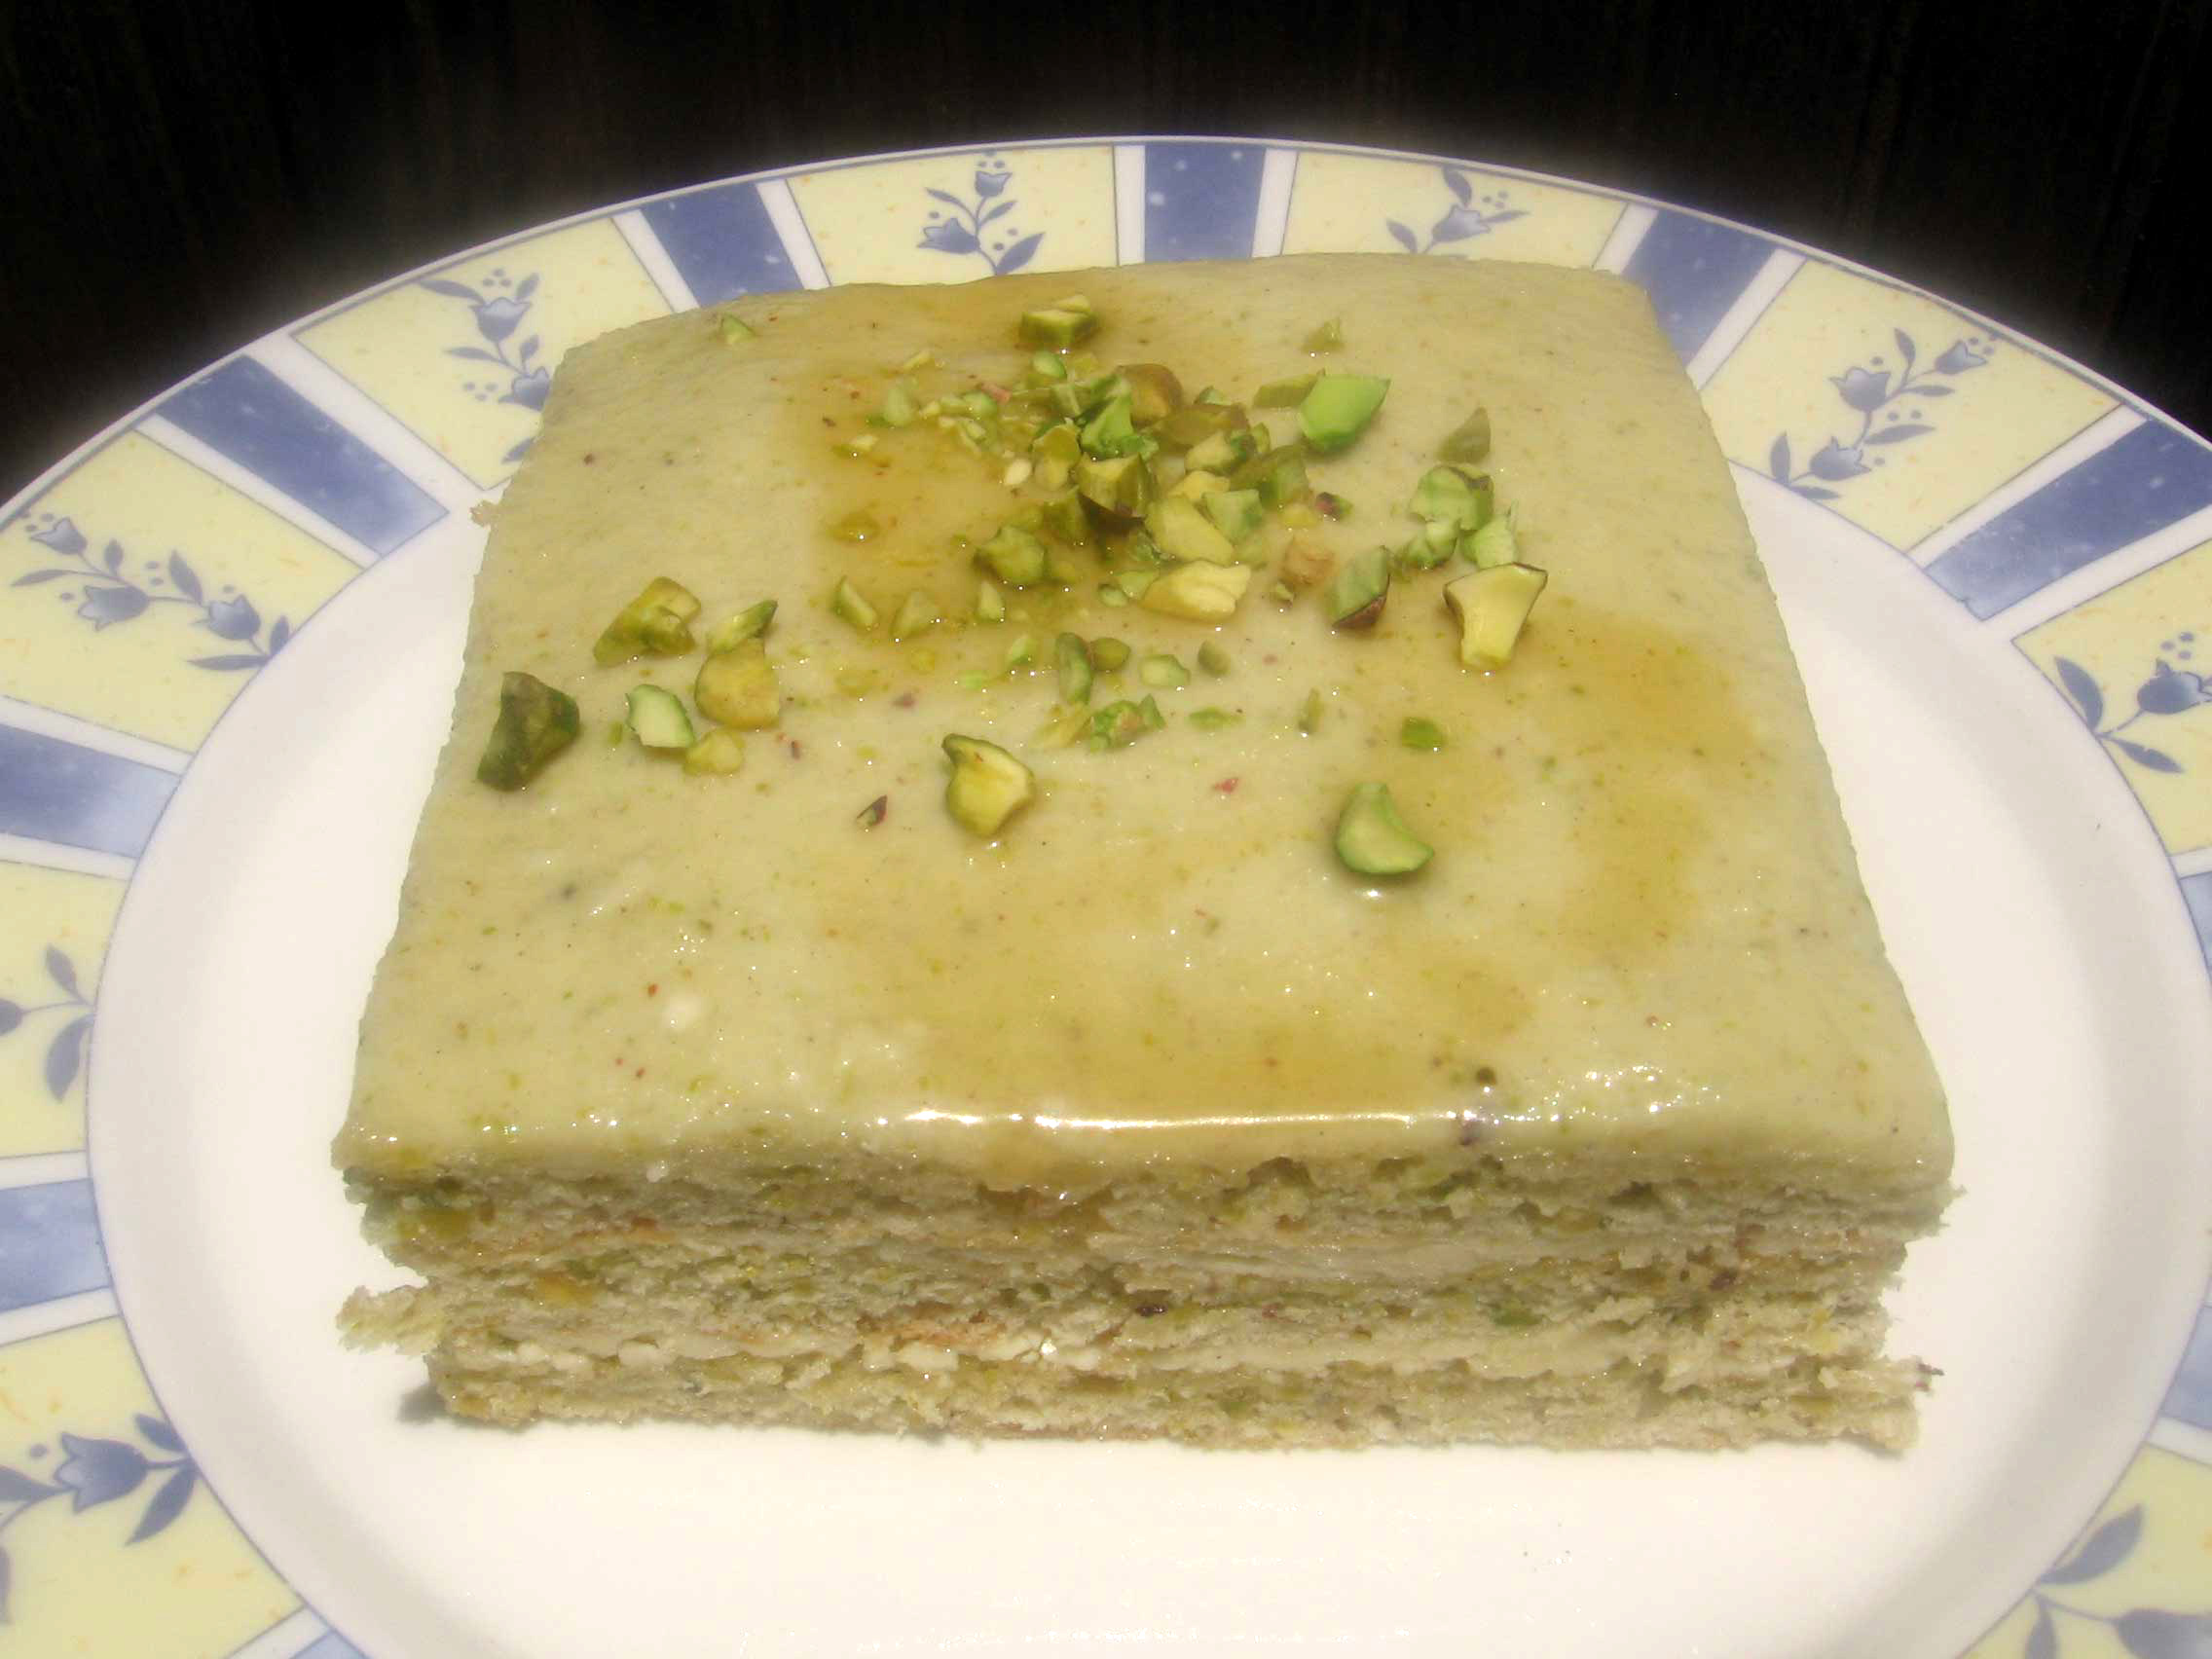
Until, I tasted this cake. It was wonderful, restaurant-worthy, wedding-cake-worthy, cure me of my baklava cravings-worthy. I had worried that the cake would be too sweet, with honey flavoring so many layers. I had also worried that the pistachio flavor wouldn’t come through. But mostly, I worried that the entire cake would end up in the trash, inedible. But instead, I couldn’t have been happier with the results. I would make this cake again, and not change anything. Each layer of this cake really does sound a distinctive note, and they blend together in beautiful harmony. The joconde is light and airy, with a hint of cardamom and a strong pistachio flavor. The buttercream is creamy, and tastes of honey, but the flavor is muted, almost subtle. The syrup adds hints of lemon and cinnamon and a rich jolt of honey that plays off the mellowness of the buttercream. With a rich taste of pistachio and a creamy decadent texture, the mousse was my favorite layer, and would make an excellent dessert by itself. Finally,the glaze, which I almost couldn’t bring myself to add, cuts the richness of the mousse, picks up the lemon notes of the syrup and gives the cake balance.
I know this recipe looks intimidating. But if you want an adventure in the kitchen, and a rich reward at the end, give it a try. This was my first Daring Bakers’ challenge, and I look forward to many more
Baklava Opera Cake (adapted from the Daring Bakers’ adaptation of Opéra Cake recipes in Dorie Greenspan’s Paris Sweets and Tish Boyle and Timothy Moriarty’s Chocolate Passion.)
Pistachio and Almond Joconde: (can be made up to 1 day in advance)
Ingredients:
6 large egg whites, room temperature
2 tablespoon granulated sugar
1 cup ground blanched almonds
1 cup ground pistachios
2 cup icing sugar, sifted
6 large eggs
1/2 cup flour mix: 2 tablespoon sorghum flour, 4 tablespoons rice flour, 2 tablespoon tapioca starch
1 tsp xanthan gum
1 tsp baking powder
1 tsp cardamom
3 Tb unsalted butter, melted and cooled
Special Equipment:
2 10×15 jelly roll pans (which I discovered are essentially cookie sheets)
parchment paper
whisk and paddle attachment for stand mixer or hand held mixer
1. Divide the oven into thirds by positioning a rack in the upper third of the oven and the lower third of the oven.
2. Preheat the oven to 425◦F. (220◦C).
3. Line two jelly-roll pans with parchment paper and brush with melted butter. If you don’t have the exact size, feel free to substitute something similar.
4. In the bowl of a stand mixer fitted with the whisk attachment (or using a handheld mixer), beat the egg whites until they form soft peaks. Add the granulated sugar and beat until the peaks are stiff and glossy. If you do not have another mixer bowl, gently scrape the meringue into another bowl and set aside.
5. If you only have one bowl, wash it after removing the egg whites or if you have a second bowl, use that one. Attach the paddle attachment to the stand mixer (or using a handheld mixer again) and beat the almonds pistachios, icing sugar and eggs on medium speed until light and voluminous, about 3 minutes.
6. Add the flour and baking powder. Beat on low speed until the flour is just combined (be very careful not to overmix here!!!).
7. Using a rubber spatula, gently fold the meringue into the almond mixture and then fold in the melted butter. Divide the batter between the pans and spread it evenly to cover the entire surface of each pan.
8. Bake the cake layers until they are lightly browned and just springy to the touch. This could take anywhere from 5 to 9 minutes depending on your oven. Place one jelly-roll pan in the middle of the oven and the second jelly-roll pan in the bottom third of the oven.
9. Put the pans on a heatproof counter and run a sharp knife along the edges of the cake to loosen it from the pan. Cover each with a sheet of parchment or wax paper, turn the pans over, and unmold.
10. Carefully peel away the parchment, then turn the parchment over and use it to cover the cakes. Let the cakes cool to room temperature.
Honey syrup (can be made up to 1 week in advance and stored in the fridge)
1/2 cup honey
1/3 cup water
1 teaspoon lemon juice
1 small cinnamon stick
2 whole green cardamoms
1. Combine all the ingredients in a small saucepan.
2. Bring to a boil and simmer for 25 minutes. Apply to the cake while slightly warm (can be reheated)
Honey Buttercream Frosting (the buttercream can be made up to 1 month in advance and packed in an airtight container. If made way in advance, you can freeze the buttercream. Alternatively you can refrigerate it for up to 4 days after making it. To use the buttercream simply bring it to room temperature and then beat it briefly to restore its consistency.)
2/3 cup (100 grams) granulated sugar
¼ cup (60 grams) water
1 large egg
1 large egg yolk
1¾ sticks (7 ounces; 200 grams) unsalted butter, at room temperature
2 Tablespoons of honey or to taste.
1.Combine the sugar, water in a small saucepan and warm over medium heat just until the sugar dissolves.
2.Continue to cook, without stirring, until the syrup reaches 225◦F (107◦C) Once it reaches that temperature, remove the syrup from the heat and immediately pour it into egg mixture (see step 3).
3.While the syrup is heating, begin whisking the egg and egg yolk at high speed in the bowl of your mixer using the whisk attachment. Whisk them until they are pale and foamy.
4.When the sugar syrup reaches the correct temperature and you remove it from the heat, reduce the mixer speed to low speed and begin slowly (very slowly) pouring the syrup down the side of the bowl being very careful not to splatter the syrup into the path of the whisk attachment. Some of the syrup will spin onto the sides of the bowl but don’t worry about this and don’t try to stir it into the mixture as it will harden!
5.Raise the speed to medium-high and continue beating until the eggs are thick and satiny and the mixture is cool to the touch (about 5 minutes or so).
6.While the egg mixture is beating, place the softened butter in a bowl and mash it with a spatula until you have a soft creamy mass.
7.With the mixer on medium speed, begin adding in two-tablespoon chunks. When all the butter has been incorporated, raise the mixer speed to high and beat until the buttercream is thick and shiny.
8.At this point add in your flavouring and beat for an additional minute or so. If your buttercream turns to soup, try refrigerating it, or freezing a portion and beating again. You can probably fix your buttercream if you have the patience to keep at it.
9.Refrigerate the buttercream, stirring it often, until it’s set enough (firm enough) to spread when topped with a layer of cake (about 20 minutes). If storing the buttercream for use on another day, you might have to warm it up and beat it again to get it back to a spreadable consistency.
White Chocolate Pistachio Mousse (can be stored for up to four days in the fridge)
7 ounces white chocolate
1 1/2 cup heavy cream (35% cream)
1 cup finely chopped pistachios
2 teaspoons ground cardamom
1. In a small saucepan combine cream, pistachios, and caradamom. Bring to a boil. Remove from heat, cover and let infuse for at least 20 minutes (I let mine infuse overnight).
2. Press through a fine mesh strainer and extract cream.
3. Melt chocolate in a double boiler with 3 tablespoons of cream.
4. Whip 1 cup of pistachio infused cream until soft peaks form.
5. Gently fold a small amount of the whipped cream into the chocolate and then fold all of the chocolate into the remaining whipped cream.
6. If it is too thin (or if not using immediately), refrigerate.
Lemon Glaze (make just before assembling)
2 Tablespoons lemon juice
2/3 cup powdered sugar
1. Combine until well-blended.
Assembling the Opéra Cake
(Note: The finished cake should be served slightly chilled. It can be kept in the refrigerator for up to 1 day).
Line a baking sheet with parchment or wax paper.
Working with one sheet of cake at a time, cut and trim each sheet so that you have two pieces (from each cake so you’ll have four pieces in total): one 10-inch (25-cm) square and one 10 x 5-inch (25 x 12½-cm) rectangle.
Place one square of cake on the baking sheet and moisten it gently with the flavoured syrup.
Spread about three-quarters of the buttercream over this layer.
Top with the two rectangular pieces of cake, placing them side by side to form a square. Moisten these pieces with the flavoured syrup.
Spread the remaining buttercream on the cake and then top with the third square of joconde. Use the remaining syrup to wet the joconde and then refrigerate until very firm (at least half an hour).
Prepare the ganache/mousse (if you haven’t already) and then spread it on the top of the last layer of the joconde. Refrigerate for at least two to three hours to give the ganache/mousse the opportunity to firm up.
Make the glaze and spread it over the top of the chilled cake. Refrigerate the cake again to set the glaze.
Serve the cake slightly chilled. This recipe will yield approximately 20 servings.


May 28, 2008 at 12:41 am
Did you mention that a tiny slice satisfies a week of sweet-craving?
May 28, 2008 at 7:25 am
So sorry you had buttercream issues – my first syrup crystalized, too. Your end result is lovely!
May 28, 2008 at 9:36 am
So, far my favorite. I love pistachio.
May 28, 2008 at 12:21 pm
wow that looks incredible! it was fun baking with you, and congrats on such a fabulous success on your first challenge!
May 28, 2008 at 12:40 pm
Your cake looks fabulous! This recipe most definitely was an adventure too!
May 28, 2008 at 2:11 pm
Wow, great job! I should have mentioned the unsalted butter thing too!!
May 28, 2008 at 6:49 pm
That looks good! I really like the Baklava take on the cake!!
May 28, 2008 at 7:02 pm
Would it be weird for me to say you are my hero right now? Baklava/cake = genius!! Sorry you had such trouble with your buttercream though!
May 28, 2008 at 7:17 pm
The cake looks so amazing Lynn – like something I would lust after in a great bakery!
May 28, 2008 at 8:44 pm
Flavoring your cake like baklava was brillant! It’s my pick for favorite flavor out of all of the opera cakes I’ve seen today. I really admire your persistance in the face of your buttercream struggles too.
May 28, 2008 at 10:53 pm
You did a wonderful job on your cake. I’m sorry your buttercream gave you such a challenge.
Natalie @ Gluten a Go Go
May 28, 2008 at 11:26 pm
Welcome to the community and congrats on a successful challenge.
I was feeling quite miserable after “buttercreaming” mine till I tasted the cake!
May 29, 2008 at 6:58 am
oh my other half loves Baklava and I haven’t had it in years so I may have to try this variant. sounds wonderful
May 29, 2008 at 9:21 am
Love the pistachio! Great job!
May 29, 2008 at 5:35 pm
Congratulations, you have really been challenged, and you survived and ended up with a most beautiful cake!
May 29, 2008 at 5:48 pm
You flavours are fantastic, great job!
May 29, 2008 at 6:06 pm
Thanks everyone… it is great to be part of such a warm and supportive group… everyone’s cakes look fantastic.
May 29, 2008 at 6:17 pm
well let me tell you, the effort and the headaches were worth it because it looks delicious! I love the pistachios… so moist and nice layers. Great job!
May 29, 2008 at 11:25 pm
Your cake looks amazing!!! and I bow down to you.. you are definitely DARING!!!
mmm pistachio and honey!!! love the combo
CONGRATULATIONS!!!
May 29, 2008 at 11:52 pm
I’m sorry to hear that you had so much trouble with your buttercream, but your cake looks delicious. Baklava, cake, pistachios, honey, what’s not to love!
May 30, 2008 at 5:01 pm
Very very smart…a baklava cake. GREAT idea! (oh, and I *always* use salted butter because that is what is available…maybe I am just used to it?). Great to see your site!
June 1, 2008 at 10:21 am
Sorry the butter cream gave you fits. That was my biggest worry of the challenge. But your persistance paid off, your cake look beautiful.
June 1, 2008 at 7:31 pm
Gorgeous! And I’m sure the taste was amazing. Congratulations on your first DB challenge!
June 3, 2008 at 3:10 pm
Wow, good for you to persevere through 3 tries at buttercream. Thanks for the tips about salted butter and crystallized sugar syrup. I absolutely love your baklava take on the opera cake. Well done, and you definitely earned DARING Baker status.
Shari@Whisk: a food blog
June 3, 2008 at 10:33 pm
Wow! Pistachios, Cardammom and Lemon… what a wonderful combination of flavors. Your cake looks delicious and congrats on becoming a Daring Baker!
June 4, 2008 at 11:06 am
Three buttercream attempts is way more impressive than using a hand mixer! This looks like a really clever flavour combo and such a pretty colour!
June 5, 2008 at 6:49 pm
I love the way your cake turned out! Sorry you had such issues with the buttercream.
June 27, 2008 at 4:20 pm
I’m Sophie, Key Ingredient’s Chief Blogger. We would like to feature this recipe on our blog. Please email sophiekiblogger@gmail.com if interested. Thanks 🙂
Sophie
July 18, 2008 at 5:54 pm
[…] also known in the blogging world as The Gluten Free Gastronaut, knows how to bake a cake that’s out of this world :). As a gastronaut, she’s explored […]
April 4, 2010 at 1:42 pm
Your cake looks fabulous in the posted pictures, but your recipe is really way more intimidating than required. It would have been helpful if you remembered to put simple things into the instruction portion of the batter, such as “add pistachios now” or “add baking soda.” I omitted the later ingredient (because I am an idiot) and almost the former because your recipe instructions omitted these ingredients. You may want to cross reference your ingredient and instruction sections in the future to make sure that they correlate properly…
April 5, 2010 at 12:23 pm
Sorry Paul. I’ve added the pistachios and the baking soda to the instruction steps in the recipe. You are right, I should have been more careful to make sure all the adaptation I made in the ingredient portion ended up everywhere. I hope your cake was still delicious!
June 20, 2011 at 10:10 pm
Oh my Gosh! that is spectacular! Its my birthday soon and i came by looking for ideas because this year I am determined to bake my own perfect birthday cake! This may be it, but I think I might pass out!
March 28, 2012 at 10:45 pm
This cake looks delicous, I have been searching for a unique wedding cake flavor, and at the same time looking for some sort of fancy way to display baclava trays at my wedding and I came across your recipe. I love cake and I love baclava, they are the two sweets I cant resist. I am going to show this to my baker, but I am afraid it may be too complicated even for them. Also regular flower be used instead of all the substitutes, and will it be the same amount of flour? Thanks!
March 28, 2012 at 10:57 pm
You can use regular flour. The original recipe is here. I changed the flavor profile, but I believe the amount of flour is the same…